Monday, November 25, 2013
Monday, September 9, 2013
Let-her-B*
Oh yes. We like wine.
Andddddd we finally decided to do something productive with it!!!
A few wooden letters from michaels and a couple (hundred) of bottles later, we had some very expensive home decor!
Good job Crafty B*s!!! Mama B is so proud.
PS. A little golden nugget for wine cork collectors out there: for those bottles you drink on special nights, write the date and event on the cork! I did this a while ago and while rounding up my corks found the cork from the bottle of wine we drank the night we were engaged. Check out the cork on the bottom right of the L---you can see 12-18-10, and on the side it says "engaged!"
Happy corking
<3 B*
Sunday, August 25, 2013
The singer sewing drawers
A few of the girls and I had a wine and craft night last week. It was a blast and ill be blogging about it soon don't you worry---but while we were there I made a self-realization. I'm a hoarder. Not so much an A&E hoarder, but I save things (others may call it junk) and store them because I know at any moment inspiration could strike...And the bolt of inspiration struck hard this weekend. Singer sewing machine style.
So we bought an old singer a while ago and used the legs to make a vanity in the powder room.
When we took it all apart, I saved the pieces and parts. Of those parts were 4 drawers that I knew would make something great one day...
So first---ever have one of those frames that doesn't have a stand on the back? I was having this same dilemma when (ding-ding-ding-ding-ding!) I thought maybe I could use one of the drawers to prop it up. A little potpourri to fill in the gap anddddd...
Watch-out----this crafty B* is on fiya!!!
The next one was inspired by all the Pinterest coffee bars I've been seeing lately. Why not use the drawers as shelves? Then hang the mugs below them? Oooooh, then even line the drawers with some scrapbook paper I had lying around? Yes, yes, this will be good.
Step 1: glue the scrapbook paper into the bottom. I over estimated the amount to cut and then used a razor blade to trim the excess.
All finished and lined with paper.
Step 2: add the hanging hardware to the back and cup hooks to the bottom (both daily found at Home Depot)
Step 3: Hang away and accessorize!!!
<3 B*
Tuesday, August 20, 2013
Mason Jar lights ---> I'm obsessed.
I'm so sorry for the lack of posts lately!
I've been traveling for work but finally, after 5 weeks, I'm home.
And take one guess what I did all day Sunday...caught up on Pinterest and crafting!!!! I was deprived!!
So Sunday I took on the lights in our upstairs bathroom. They were originally a silver/metal color and had some ugly glass shades. I've been contemplating their re-design for weeks and finally was inspired. Sorry guys. I promise I'll get better with the before shots. I just get so excited I start before I can think to take one!!!
A little leftover paint and I was in business.
A little wire and twine allowed me to hang the jars from the screws. I used hot glue for the twine to get them to stay and keep the right length.
The final shot...
<3B*
Sunday, July 14, 2013
Cruel cruel summer, but what a sweet sweet ceiling. Office Transformation part Uno!
Like the song says---it's been a cruel summer. And Jason and I have been cruelly busy. But I finally---after weeks---have a second to sit and post some new things for you guys.
I decided to start letting you all into our home, and the chaos that is all of my ongoing projects :-)
I've been working on the office for --- I guess I can say almost a year because we've almost been here for one. It started when we moved in. That very day, we ripped out a cheap old bookshelf from the wall, which left gaping holes in the plaster where the shelf had been attached, and a large chunk of baseboard missing.
A few months later, I finally patched the wall, and a month or two later my husband and father added the baseboard.
To cover up the paneling on the top. I decided to spackle in the paneling grooves, and add wallpaper on top. This is what im leaning towards at the moment...
Then we had to tear down all the drop ceiling and get the bathroom leak fixed (you can see the waterspots above.)
Can't wait for the big reveal!!! More to come soon...
<3*B
I decided to start letting you all into our home, and the chaos that is all of my ongoing projects :-)
I've been working on the office for --- I guess I can say almost a year because we've almost been here for one. It started when we moved in. That very day, we ripped out a cheap old bookshelf from the wall, which left gaping holes in the plaster where the shelf had been attached, and a large chunk of baseboard missing.
A few months later, I finally patched the wall, and a month or two later my husband and father added the baseboard.
The rest of the walls had blue paneling on them. So in a flash of genius from mi madre, we decided to add chair rail, and paint the bottom portion of the paneling white to look like wainscoting.
Today, I finally added in some of the new ceiling.
I've literally had this ceiling for 6 months. It was the first thing I picked out when we realized it'd be best to keep the drop ceiling because of the old bathroom above the office.
Can't wait for the big reveal!!! More to come soon...
<3*B
Friday, May 31, 2013
Chalkboards and wreaths and crackle paint, oh my!
Okay, so don't judge me---but I'm blogging on a Friday night.
Or do...just don't tell me :-)
I can justify it though...I couldn't help staying in on a Friday while #thehub is away for the weekend for a bachelor party. It is SO. NICE. having the house to myself! I'm sure you all would agree.
Wine in hand, and Os on the TV, I'm ready to share my latest creations with you all.
That's right. Two. A double whammy. Woop Woop! Here we go.
When we first moved in our house, #thehub found the glass cabinet covers for the corner cabinets in our dining room. They were rounded, and kind of cool, but when I didn't want them back on the cabinets, they ended up just kind of hanging out in our garage.
Now, I had always secretly envied those big chalkboards painted on kitchen walls, so when we moved in, it was one of the first things i did---there it is again, proof I'm crazy. Unfortunately for me, when we repainted the kitchen a few months ago, we (ahem, HE) decided to paint over my greatest creation (So devastating for me!!!) Since then, I've been missing my chalkboard like whoa. Black Rob was even like "----whoa."
So what I decided to do was turn the class cabinet doors into my new kitchen chalkboard.
And really-----what this post is all about is Martha Stewart crackle paint. That stuff is the #BEESKNEES
Here's the before and after first. Then the det's...
My next step was to make the paint look even more aged by wiping it with some stain I had laying around. I used one of those black craft sponges to "paint" it on, then let it dry for a minute or two, then wiped the excess off.
Finally, I needed to figure out a way to hang the chalkboard. I purchased some wire and picture hangers from home depot and strung it across the back. This wire is awesome by the way. The package even has a self cutter on it!
#B*
BlogThis!Share to XShare to FacebookShare to Pinterest
Or do...just don't tell me :-)
I can justify it though...I couldn't help staying in on a Friday while #thehub is away for the weekend for a bachelor party. It is SO. NICE. having the house to myself! I'm sure you all would agree.
Wine in hand, and Os on the TV, I'm ready to share my latest creations with you all.
That's right. Two. A double whammy. Woop Woop! Here we go.
When we first moved in our house, #thehub found the glass cabinet covers for the corner cabinets in our dining room. They were rounded, and kind of cool, but when I didn't want them back on the cabinets, they ended up just kind of hanging out in our garage.
Now, I had always secretly envied those big chalkboards painted on kitchen walls, so when we moved in, it was one of the first things i did---there it is again, proof I'm crazy. Unfortunately for me, when we repainted the kitchen a few months ago, we (ahem, HE) decided to paint over my greatest creation (So devastating for me!!!) Since then, I've been missing my chalkboard like whoa. Black Rob was even like "----whoa."
So what I decided to do was turn the class cabinet doors into my new kitchen chalkboard.
And really-----what this post is all about is Martha Stewart crackle paint. That stuff is the #BEESKNEES
Here's the before and after first. Then the det's...
![]() |
| A little chalkboard paint (sorry guys, forgot to take the original before! I get too excited.) |
![]() |
| Now this stuff is what you need to get. It goes on sort of like icing a cake. The thicker you put it on, the bigger the cracking. <insert witty pun here> |
![]() |
| After it was completely covered in crackle |
![]() |
| What the crackle paint looks like prior to drying/cracking |
![]() |
| The GORGEOUS after effect. |
![]() |
| How cool/authentic does that look? |
My next step was to make the paint look even more aged by wiping it with some stain I had laying around. I used one of those black craft sponges to "paint" it on, then let it dry for a minute or two, then wiped the excess off.
![]() |
| Before wiping off |
![]() |
| More "painting" |
![]() |
| After wiping the excess |
![]() |
| More after |
![]() |
![]() |
| Twist once around |
![]() |
| Then twist up the wire running across the back |
![]() |
| Once you've twisted up a few times, twist back down, and fold then excess back up against the wire. You can test it out by pulling it, but the hold is really strong. |
![]() |
| #b*sbecrafty |
![]() |
| Now I can list my life away!!! #thehub is so happy... |
Lastly...
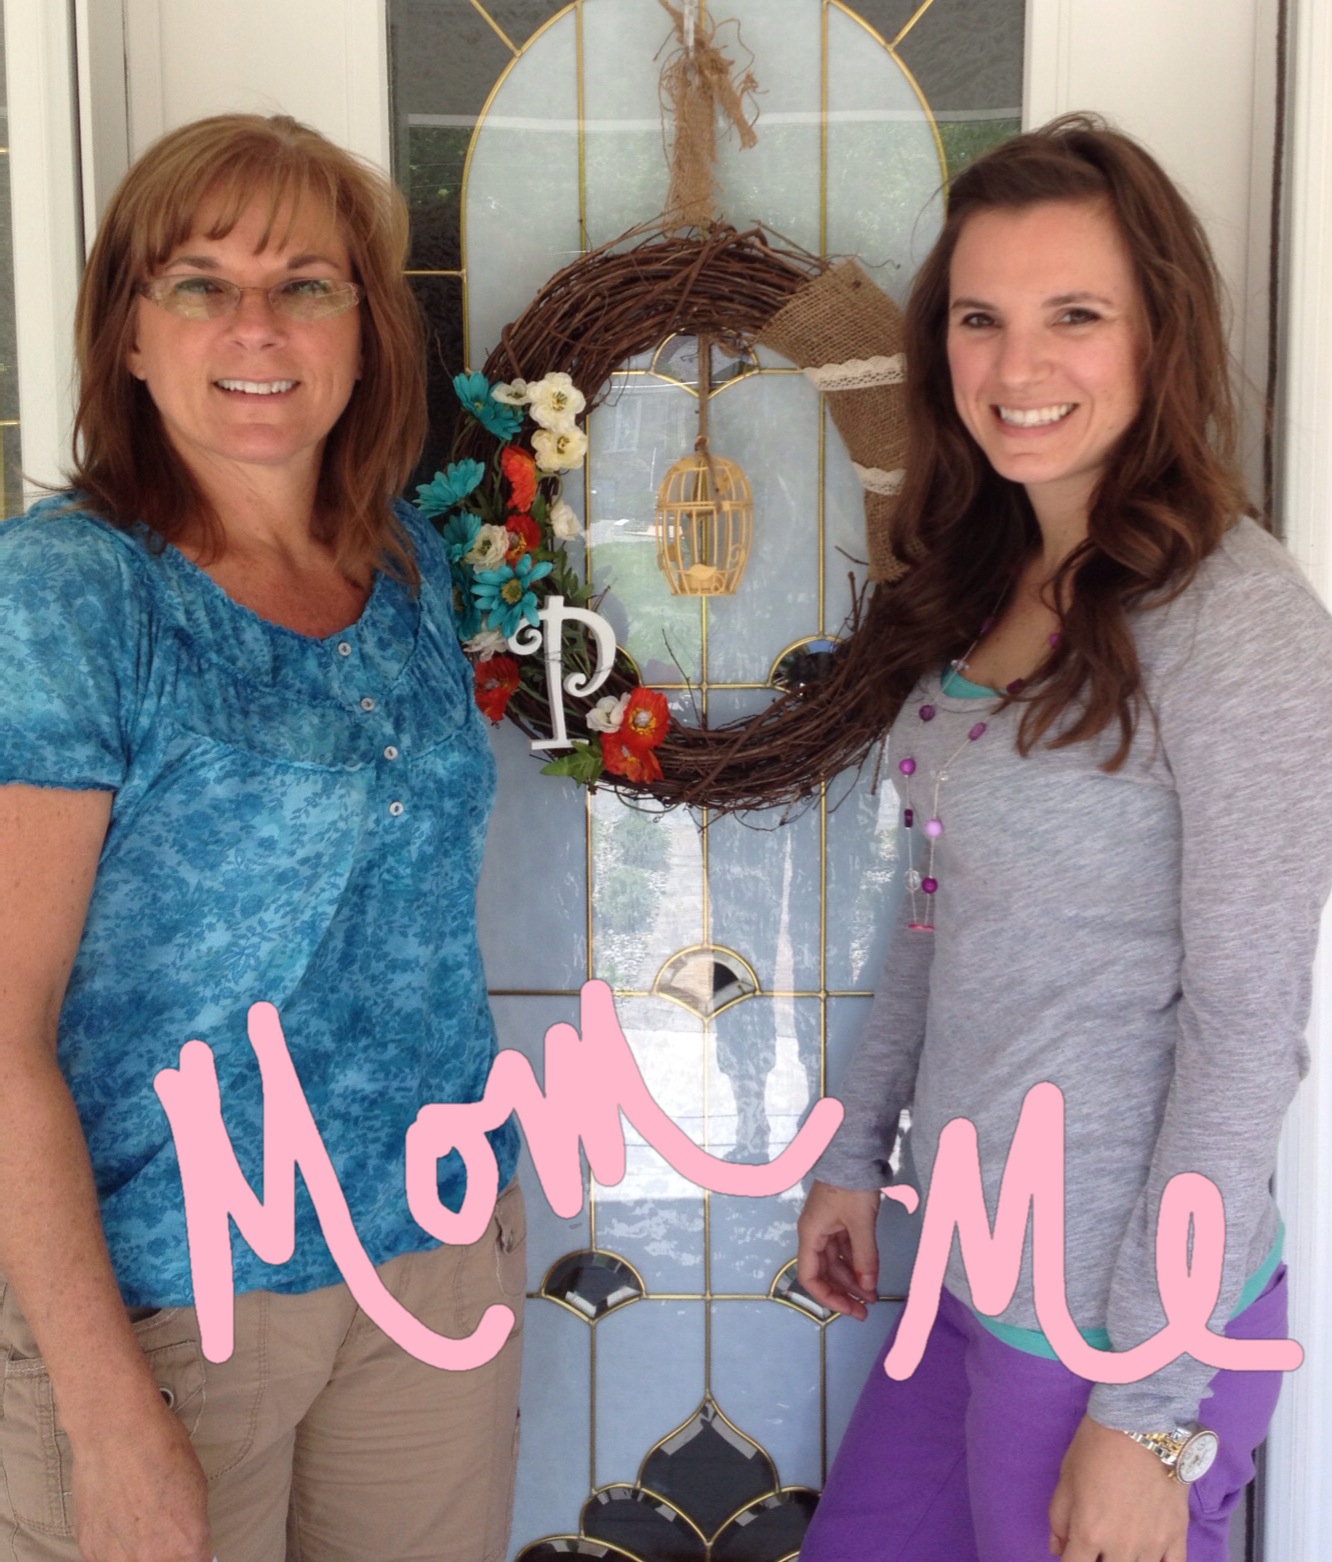
I wanted to quickly share my mother's day gifts I made this year...
My girlfriend and I had a craft night, and made wreaths! I made one for my mom and mother in law, and katie---well---she made one for herself, then decided she should at least make one for her mom. #StingyB*!
| Momma Petri and Me! I got my craftiness from her most definitely. Hope everyone had a great mother's day...and keep this in mind for a gift next year!! <3 They all loved them <3 |
Subscribe to:
Posts (Atom)